

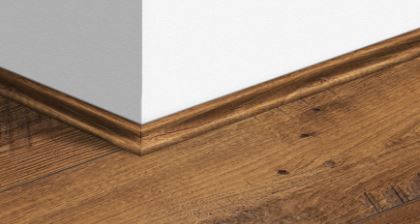
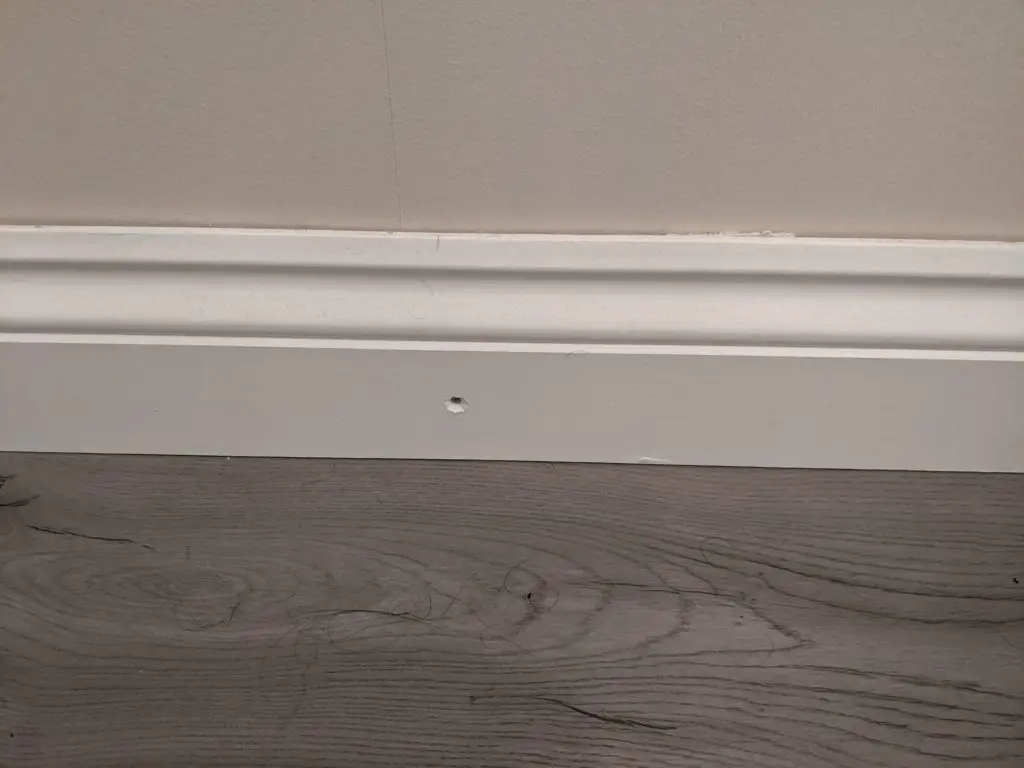
Beading and skirting boards are both types of floor edging used to fill gaps between floors and walls of a room and make your floor edges look neat and tidy. Beading can be seen as a supplement to skirting boards that can work well. The choice is actually between the skirting board with beading or skirting board without beading. To bead or not bead? That is the question.
Skirting board covers the ‘expansion gap’ left between the flooring and the wall designed to allow for any general movement a property goes through in its life. Beading is a simple way to cover up any additional gaps when replacing an existing floor and come in a range of materials such as wood, PVC, or MDF.
Making the decision to use beading or potentially replace your skirting boards in your home will ultimately depend on how easily you can remove and put back or replace your skirting board and your desire to do so.
When to use Beading for Laminate Flooring?
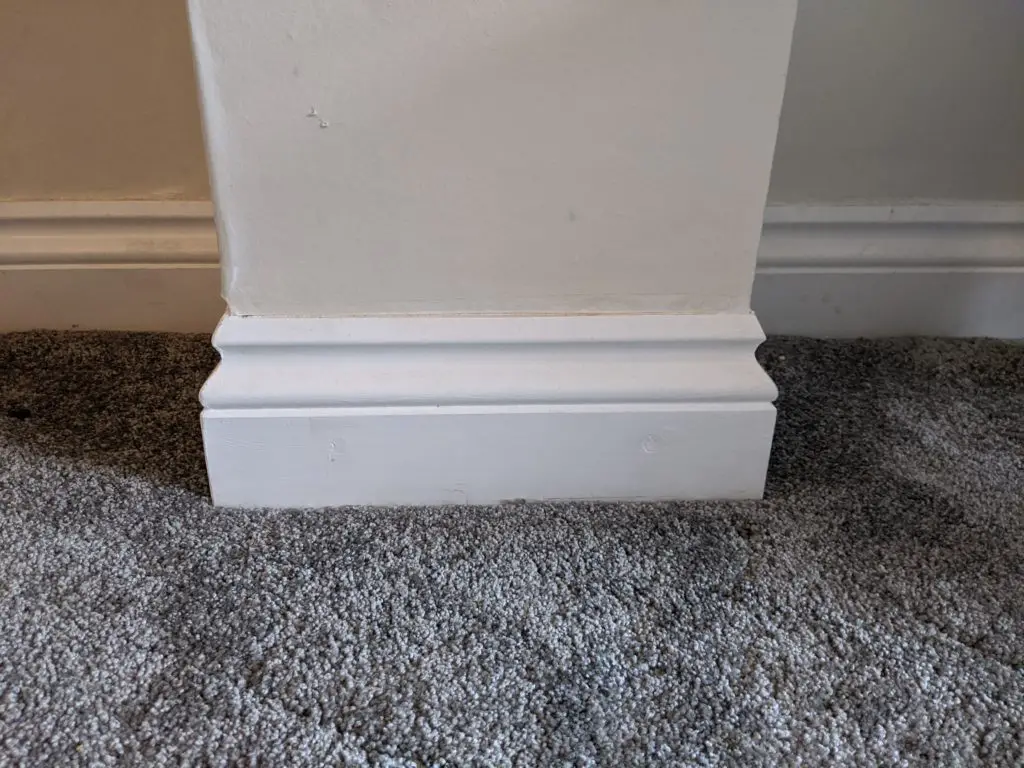
I’ll be honest with you. Ideally, your skirting board should be fitted on top of your laminate or wooden flooring to completely hide the gap between your flooring and the wall. It looks cleaner and tidier than beading in my opinion.
That said it’s not always practical to rip up all of your skirting boards and when this is the case beading is a brilliant way to fill the gap between your new flooring and the wall.
If you are fully renovating your home and made the decision to replace your skirting boards, think about the order that you do things so that you are not in a position where you have fitted your skirting boards before you have put your flooring down (like I did, doh!)
How Much Beading Do I Need For My Laminate Flooring?
Working out how much beading that you need is actually pretty easy.
To work out how much beading you need:
- Run a measuring tape around the edge of the room, marking the length in meters.
- Once done, divide the total length by 1.6 (Standard beading lengths are 1.83 meters). This will give you more beading than you need but it’s a good amount of slack just in case you’ve made any errors.
How To Avoid Using Beading For Laminate Flooring – What Are The Alternatives?
Ok, if you are not a fan of floor beading, but it’s impractical or not very cost-efficient to rip up your skirting boards, what are the alternatives?
Here are a couple of great alternatives to floor beading for Laminate Flooring:
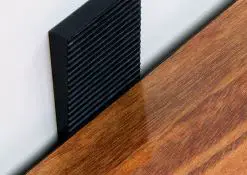
Threshold trims
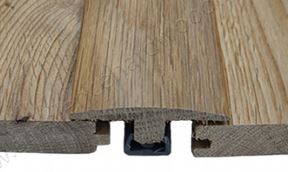
I’m actually a fan of threshold trims like this one (Link to Amazon). Shaped like a ‘T’ these trims sit in between the flooring gap and the laminate flooring
You can buy them in a similar or in some cases the same finish and color of your laminate making it seem like you only have skirting boards.
Carpet Trims
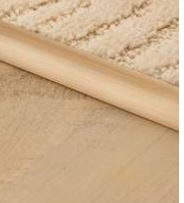
Carpet trims like this (Link to Amazon) can be a great alternative to beading. The metal finish against the wood finish of your laminate and skirting can look great.
Removing Skirting Boards to Lay the Laminate flooring
In my home, I made the mistake of laying new skirting boards throughout my house, only then to decide that I wanted laminate flooring in one of the rooms. I’m not really a fan of floor beading so I got to work ripping out and removing the skirting board.
Tools you will need to take of skirting board:
- Claw Hammer– The Claw hammer will be useful to prise out the nails if there are any
- Hammer and Chisel – Using both the hammer & chisel should ensure the skirting boards come away with ease.
- A crowbar will help you remove the skirting boards completely.
- A Stanley Knife or a scraper will help you remove the sealant that is often added between the top of the skirting and the wall
If you’re looking to start ripping up your skirting board right now but you need the tools, here’s a list of my picks you can check out (Link to Amazon).
When you remove the skirting board, I would recommend the following process:
- If your laminate is screwed in, unscrew all the screws and put it to one side. If they are nailed in use a claw hammer to pull out the nails.
- Using a scraper run down the top edge of the flooring all around the room, to break through the adhesive that may have been used to secure it
- Use the hammer and a chisel to start to pull the skirting away from the wall
- Use a crowbar to gradually fully pull the skirting board away from the wall.
- Move along the wall gradually and repeat to avoid breaking the skirting board
Things That Will Happen When You Remove Your Skirting Boards
Removing the skirting boards is always a messy job. There are adhesive and screws holding them in place before you touch it.
- The plaster will end up coming off onto the skirting board pieces that you take off which you will need to scrape off again.
- Some skirting may snap off and will need to be replaced if old
- You may need to re-plaster areas underneath the skirting board before putting it back and laying the laminate.
- You may need to re-paint the skirting boards depending on how messy the job can get.
- You may find that your skirting board may not exactly fit as you took them out. Don’t let this worry you. Using a miter-box you may need to cut them back to size (…I had to do this)
With all of this in mind, if you are looking to replace the skirting boards in your home, this is the time to also think about laminate or wooden flooring options.
Why it is worth removing skirting boards before putting down laminate flooring
Removing the skirting boards is not an easy task, but for me, it was totally worth it for a few reasons:
- The finish is brilliant and I wouldn’t have been happy with beading.
- It is lower maintenance in the long run, for instance, if the beading becomes loose.
- Replacing the laminate flooring with carpet or other flooring choices will be easier in the future without considering extra expansion gaps.
What Size Expansion Gap Is Required For Laminate Flooring?
It’s important to note that an expansion gap needs to be left around the whole edge of the room being laminated. This includes the main walls, fire places, even areas with pipes.
So how large should an expansion gap be?
The gap should be a minimum of 8 mm and a maximum of around 12 mm.
A larger expansion gap makes sense if you think about it, given that there will be more flooring and therefore more expansion.
An expansion gap is something you have to do, and failure to leave one could mean your whole floor could need to be redone, why? well, that’s in the next section.
What Happens If I Don’t Leave An Expansion Gap?
Have you ever noticed that some wooden doors can become stiff in the door frame when humidity rises? Essentially the moisture in the air makes the wood expand, making the door stiff. When the moisture decreases, the door becomes loose again.
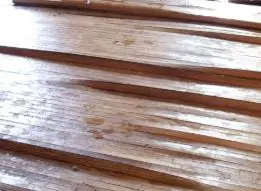
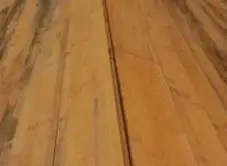
The same theory applies to laminate flooring, except if there is moisture in the air without an expansion gap the laminate flooring will buckle under the pressure.
Here’s a couple of examples of what wooden floor buckling looks like.
In Summary…
Beading can be a great way to cover up expansion gaps, but there are a number of alternative options as well.
When it comes to laying the laminate flooring, the best finish is really if you avoid beading all together and only have skirting.
When it comes to making a choice about beading, hopefully, this article will help you make an informed choice about which floor edging and what’s best for you.
Good luck with your floor edging adventures – and please don’t decide to laminate floor a room straight after you’ve re-done your skirting boarding (like I did).